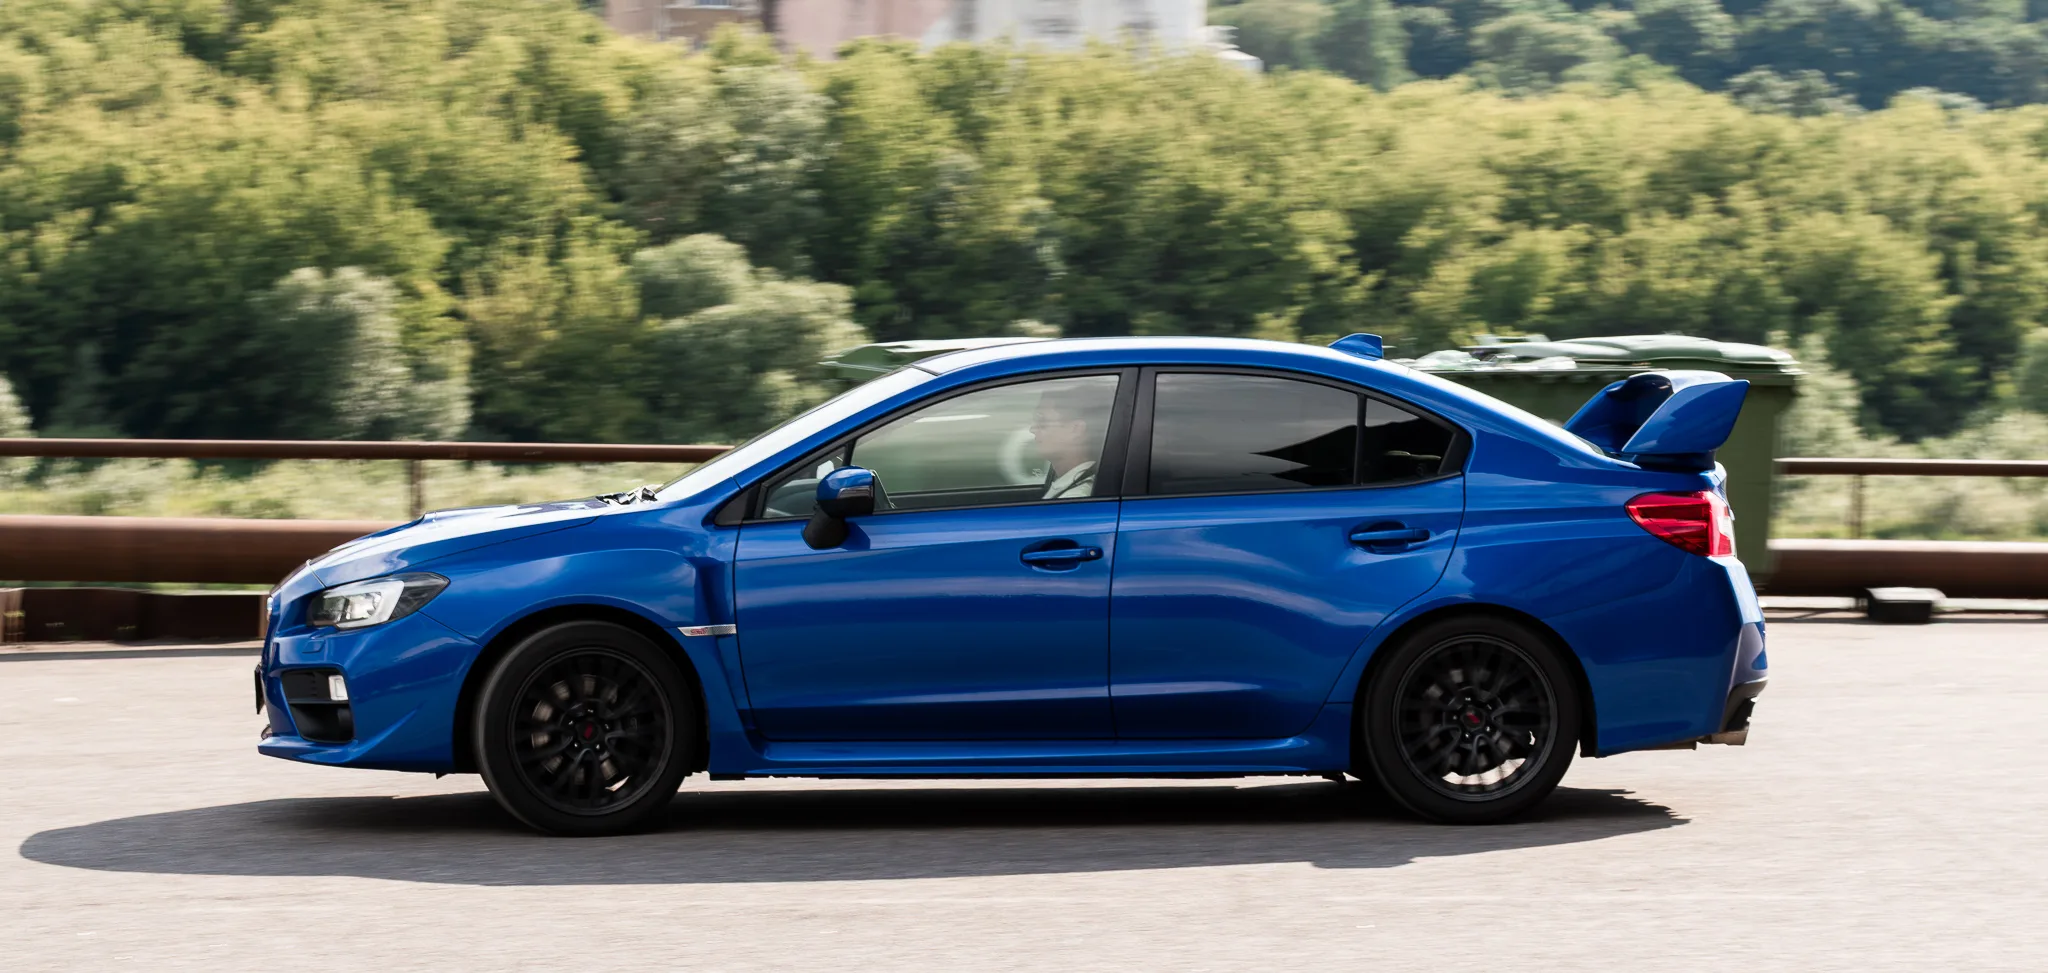
Fliteca v1.5 Released: From the Box to the Map in Five Steps
We’re happy to announce another Fliteca release. This time we focused on GPS tracker setup and the very first minutes with Fliteca: opening the box, creating an account and seeing your vehicle on the map.
Every Fliteca tracker now carries a QR code that takes you through the whole setup in five steps. You can sign up and log in with your Google, Microsoft or Apple account. And the log in, sign up and first steps screens have a completely new design.
That is not all. v1.5 also brings tracker data exports to Excel and CSV, a new way to add trackers, a page of its own for every tracker, custom alert messages with time zones, keyboard shortcuts and a rewritten user guide.
GPS Tracker Setup by QR Code
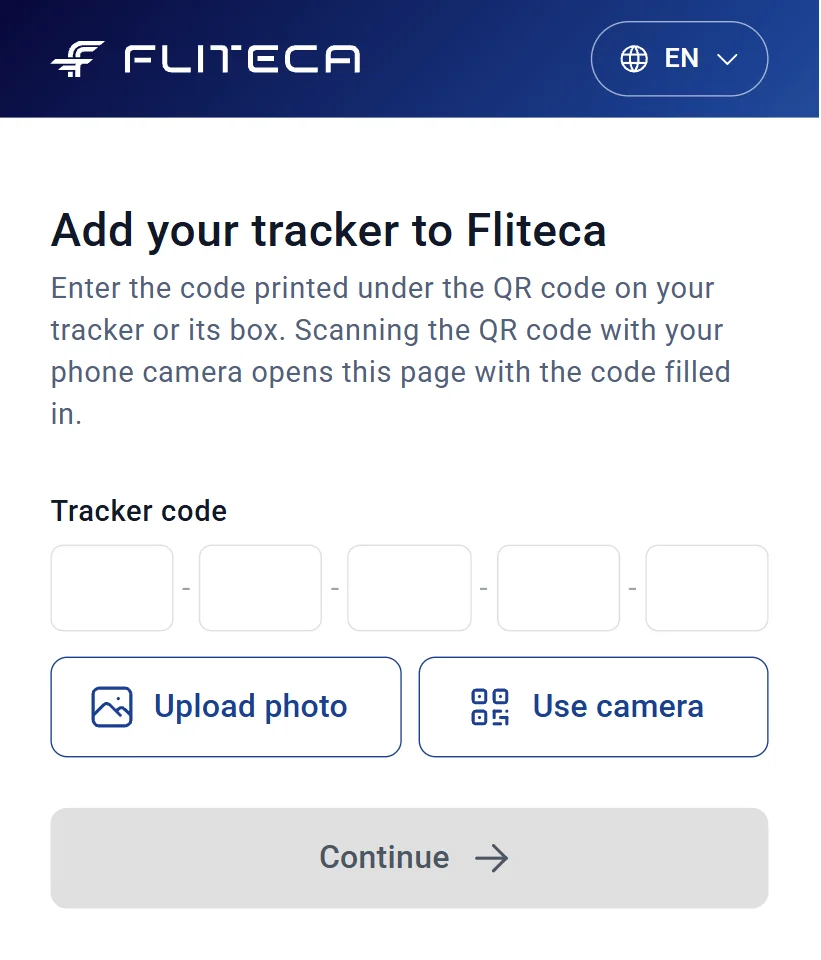
Setting up a tracker used to mean typing an IMEI, choosing a server and hoping everything was entered correctly. With v1.5, a tracker bought from Fliteca arrives with a QR code and a short tracker code printed on it and on its box.
Scan the QR code with your phone camera, or type the code in join.fliteca.com, and Fliteca walks you through five steps: tracker, account, plan, vehicle and done. By the end your vehicle is on the map.
If credit is included with your tracker, it is applied to your invoices automatically. Your company page will list each credit, how much of it is spent and when it expires, so there will be no surprises.
Sign In With Google, Microsoft or Apple
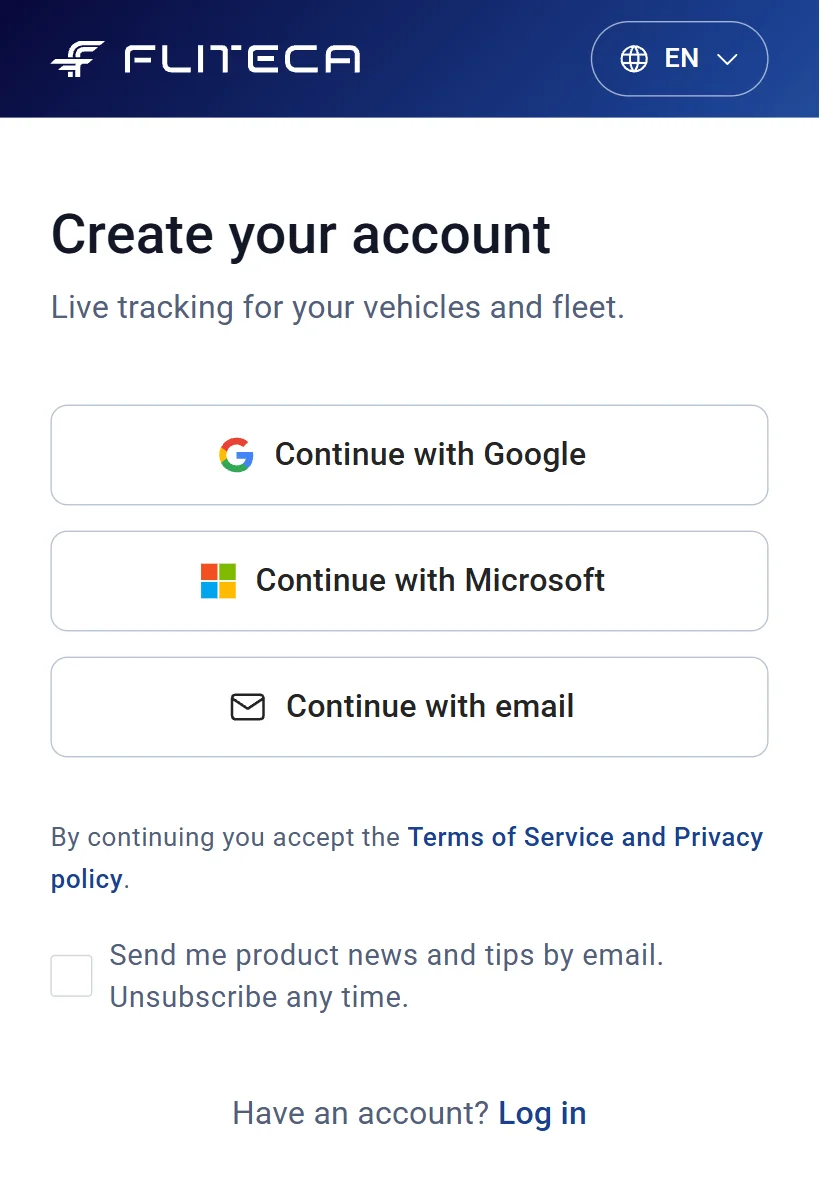
One password fewer to remember. You can now create a Fliteca account or log in with an account you already have, on the web and in the iOS and Android apps. Continue with Apple is shown on iPhone, iPad and Mac.
While we were there, we redesigned the log in and sign up screens. They are cleaner, quicker to get through and look right on phones, desktops and large screens.
New accounts get a shorter start as well. You choose personal or business use, company details are optional, and the last step takes you straight to adding your first tracker.
A New Way to Add Trackers
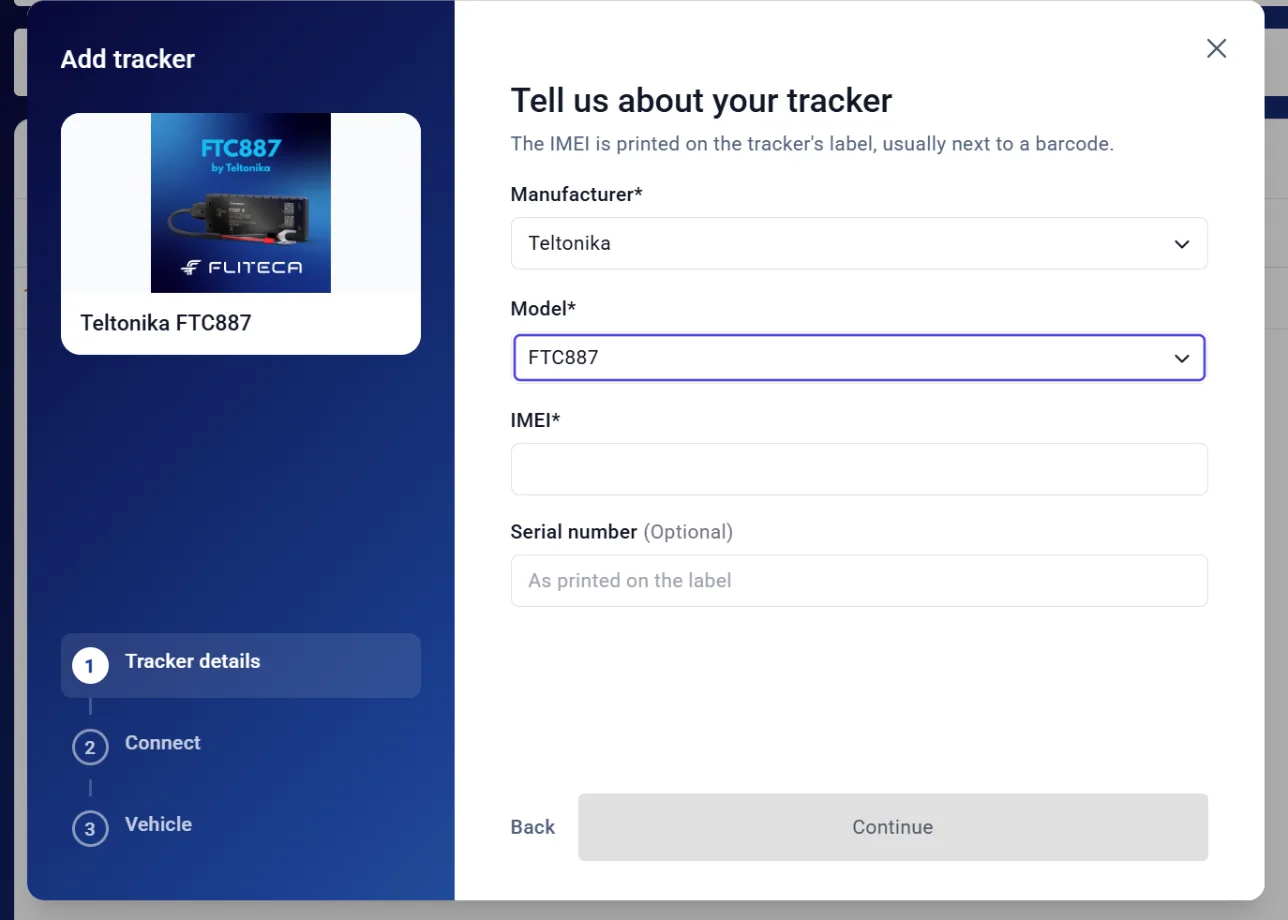
We redesigned the tracker registration tracker from the ground up. Just enter the code, or scan the QR of the tracker you received from Fliteca shop, and you’ll be ready to go in no time! If you bought your tracker elsewhere, choose its manufacturer and model from the Fliteca device catalog. We also provide a guided setup for trackers, that you brought yourself, so you’ll have an easier onboarding experience with more details to follow.
Your Tracker Data, in Excel or CSV
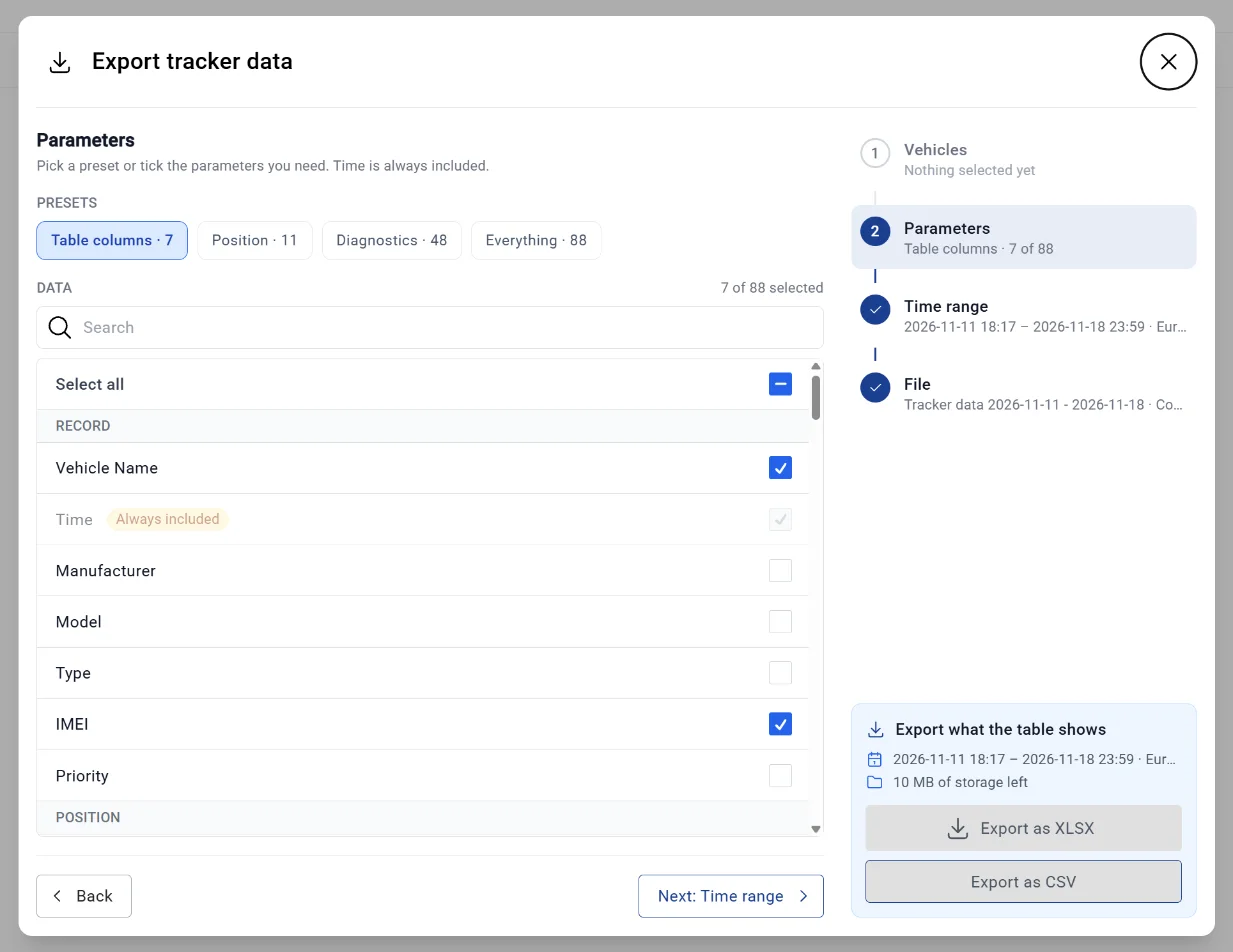
Sometimes you need the raw numbers. From the tracker data table you can now export what your trackers sent to an Excel (XLSX) or CSV file.
Pick the vehicles, the parameters and the time range, give the export a name, and carry on working. Exports are generated in the background and listed in a recent exports popup, where you can search them, download them again or copy one into a new export. Excel exports can also include graphs of the selected values.
Alerts That Say What You Want Them to Say
You can now write your own notification message for an alert, with placeholders for the vehicle, geo-zone, alert name and time. A message such as “Truck 12 has entered Depot North at 14:05” will tell your team more than a generic alert ever could.
Each alert also has its own time zone, used for the times in its emails and notifications. This is useful when your fleet and your team are not in the same place.
Fliteca From the Keyboard
If you’re a keyboard power user you’ll be able to navigate through most of Fliteca with the keyboard. Letter keys work the map controls, Shift + letter opens the pages of the navigation bar, number keys pick vehicles in the map list and arrow keys move through table rows. Hover over a button to see its shortcut.
For Developers: External API Changes
The External API can now create, read, update and delete geo-zones, including line geo-zones with a width. If you use the External API, please note that this release contains breaking changes:
POST /api/v1/tracker-commandsnow requiresexpiresInMinutesandmaxRetryCount. To keep the previous behaviour, send"expiresInMinutes": 10080and"maxRetryCount": 6.
The full list is in the changelog of our documentation.
Plenty of Smaller Improvements
As always, the release includes a collection of smaller changes based on your feedback.
- A table that fails to load shows an error with a retry button and the columns you choose are saved more reliably.
- In Reports, a failed report can be retried in place, and report notes show how many vehicles the report includes.
- iPhone and Android browsers show a banner to install the Fliteca app.
- The Settings page now shows the version of the app for easier debugging.
- Finally, we rewrote the documentation, with a getting started page and a page for every part of Fliteca.
Getting Started Should Be the Easy Part
A fleet management tool is only useful once your vehicles are in it. With v1.5 we wanted the way in to be as short as possible. Now, just scan a code, sign in with an account you already have, and see your vehicle on the map!
Thank you to everyone using Fliteca and sharing feedback. If something in your first steps with Fliteca was harder than it should have been, we would love to hear about it and improve on it!
And as always, happy Tracking!
— The Fliteca Team